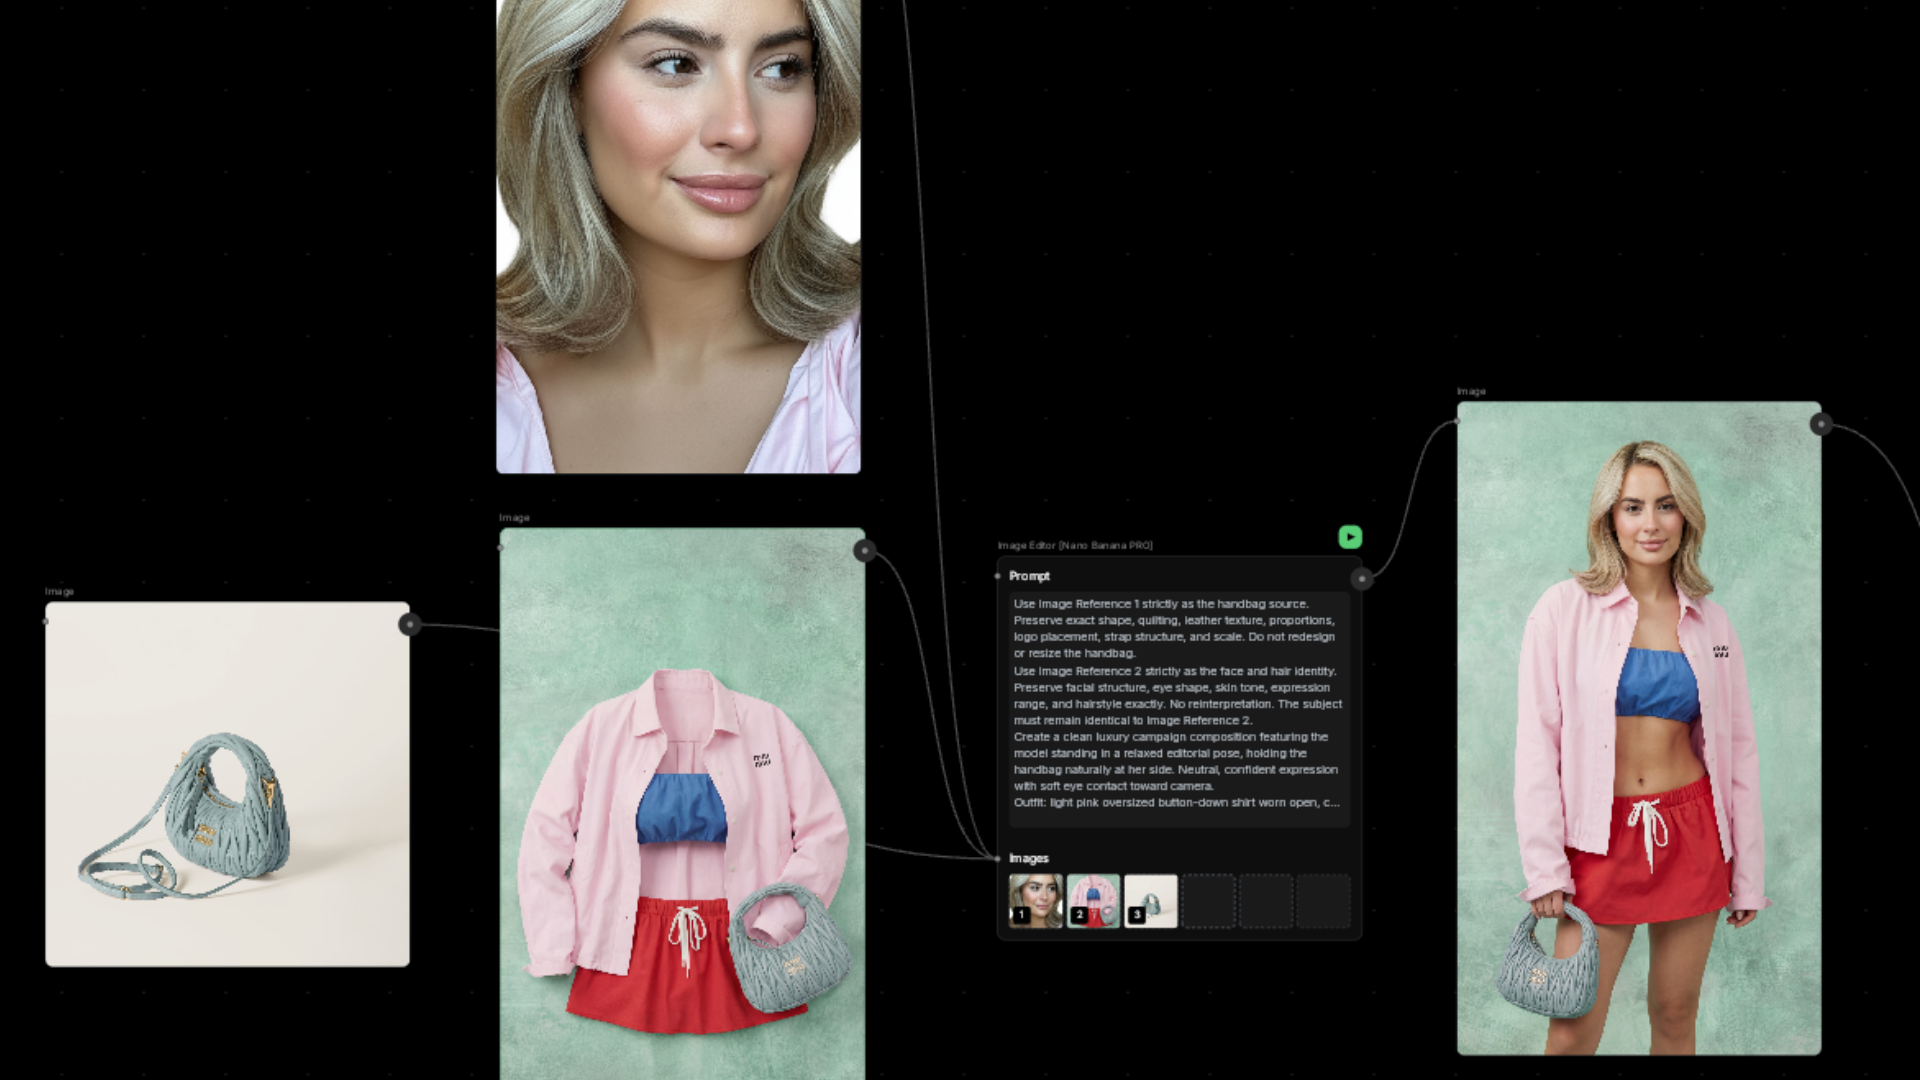
A full fashion editorial used to require a studio, a photographer, a model, a stylist, wardrobe, lighting rigs, and a post-production team. Now you can build one with two images and a laptop.
The process is straightforward: take a photo of an outfit you like and a photo of yourself (or an AI avatar), then use WunderNode to generate a series of editorial images and animate them into video. The result looks like something a fashion house would publish. The input is a browser tab and some patience.
Want to skip straight to it? Open the fashion shoot workflow and follow along — all the nodes are already set up.
What you need before you start
Two images:
- An outfit photo. The look you want to wear. Pull it from a brand’s site, a Pinterest board, a screenshot from a runway clip. Whatever has the garment clearly visible.
- A photo of you (or your AI avatar). A clear shot of your face. Front-facing works best. This is how the model knows whose face to put in the scene.
That’s it. Sign up for WunderNode if you don’t have an account yet, then open a new project.
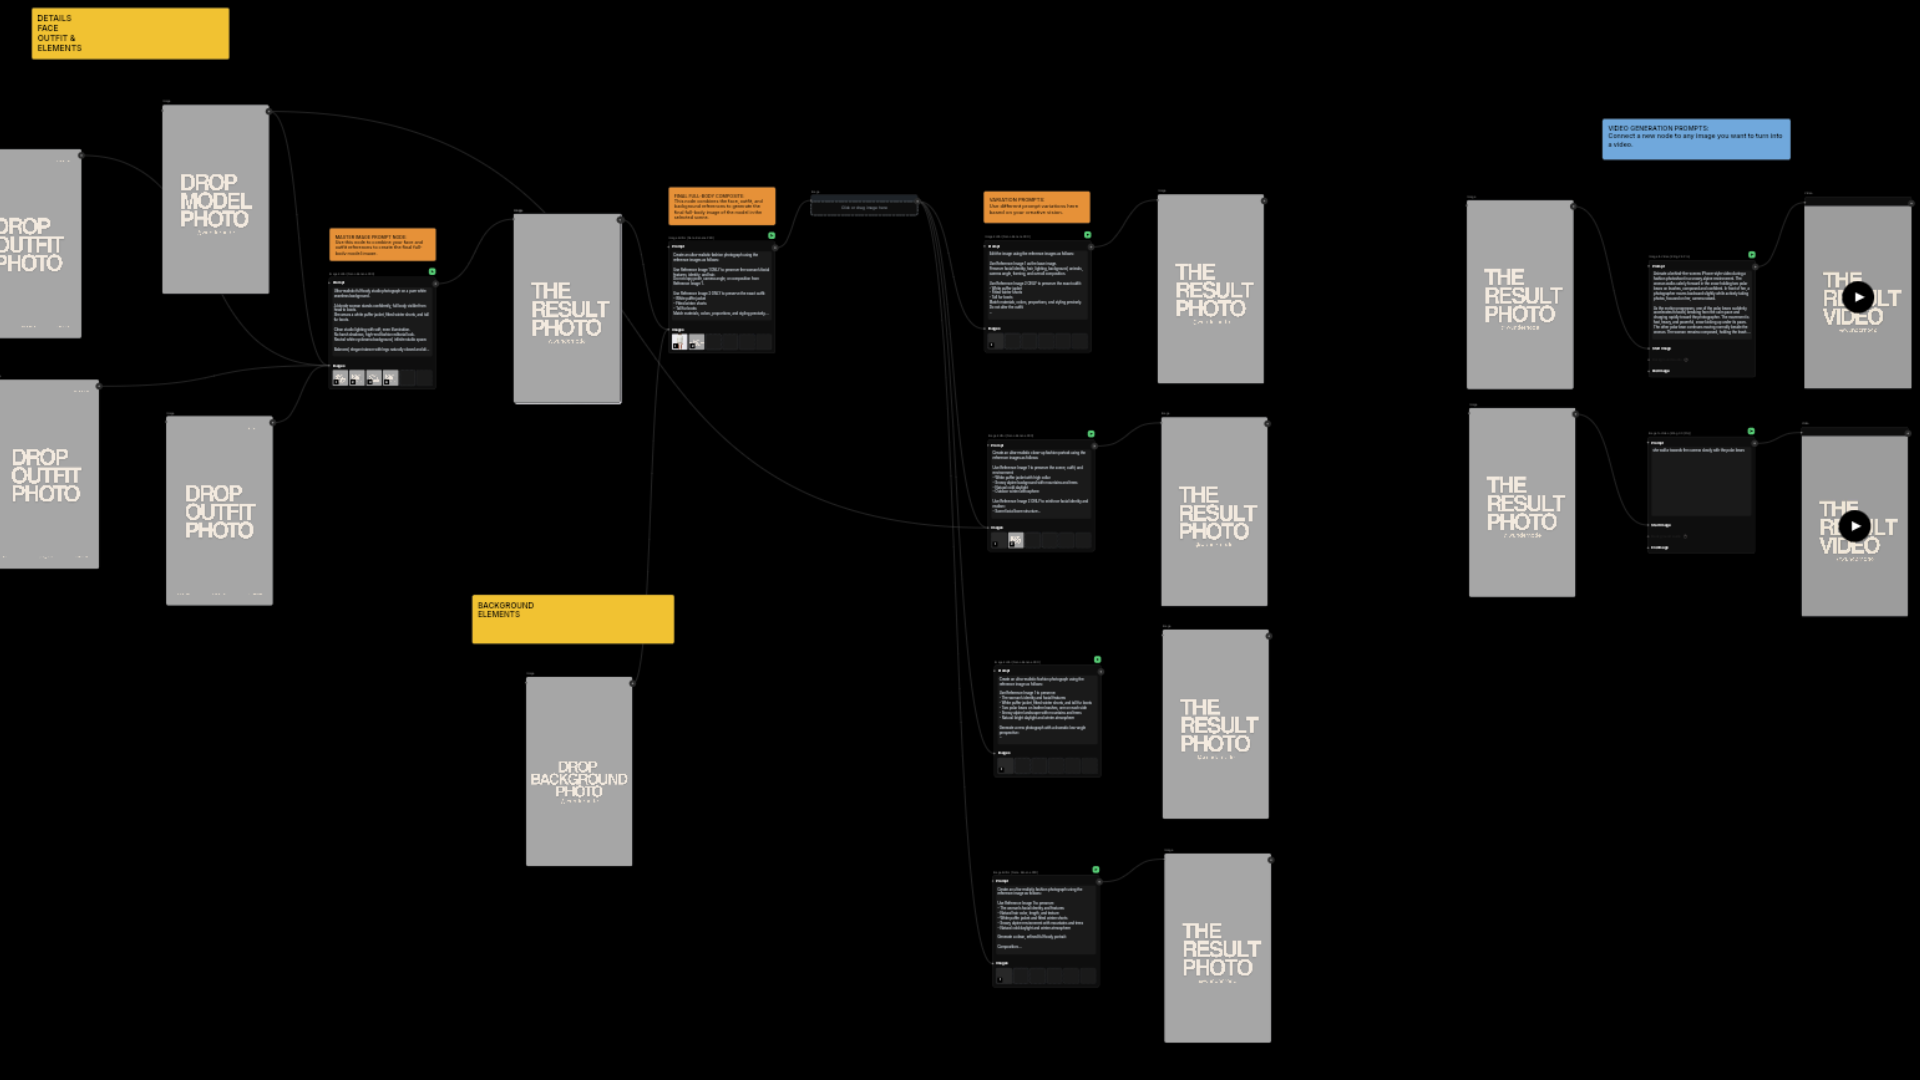
Step 1: Set up the canvas
Open your project and find the Image Editor in the left sidebar. Drag it onto the canvas.
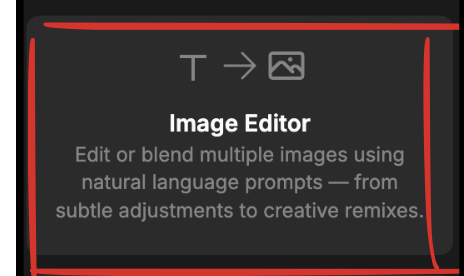
Configure the node:
- Set the model to NanoBanana Pro
- Set the resolution to 4K
Now connect your two reference images (the outfit and your face) as inputs to the node.
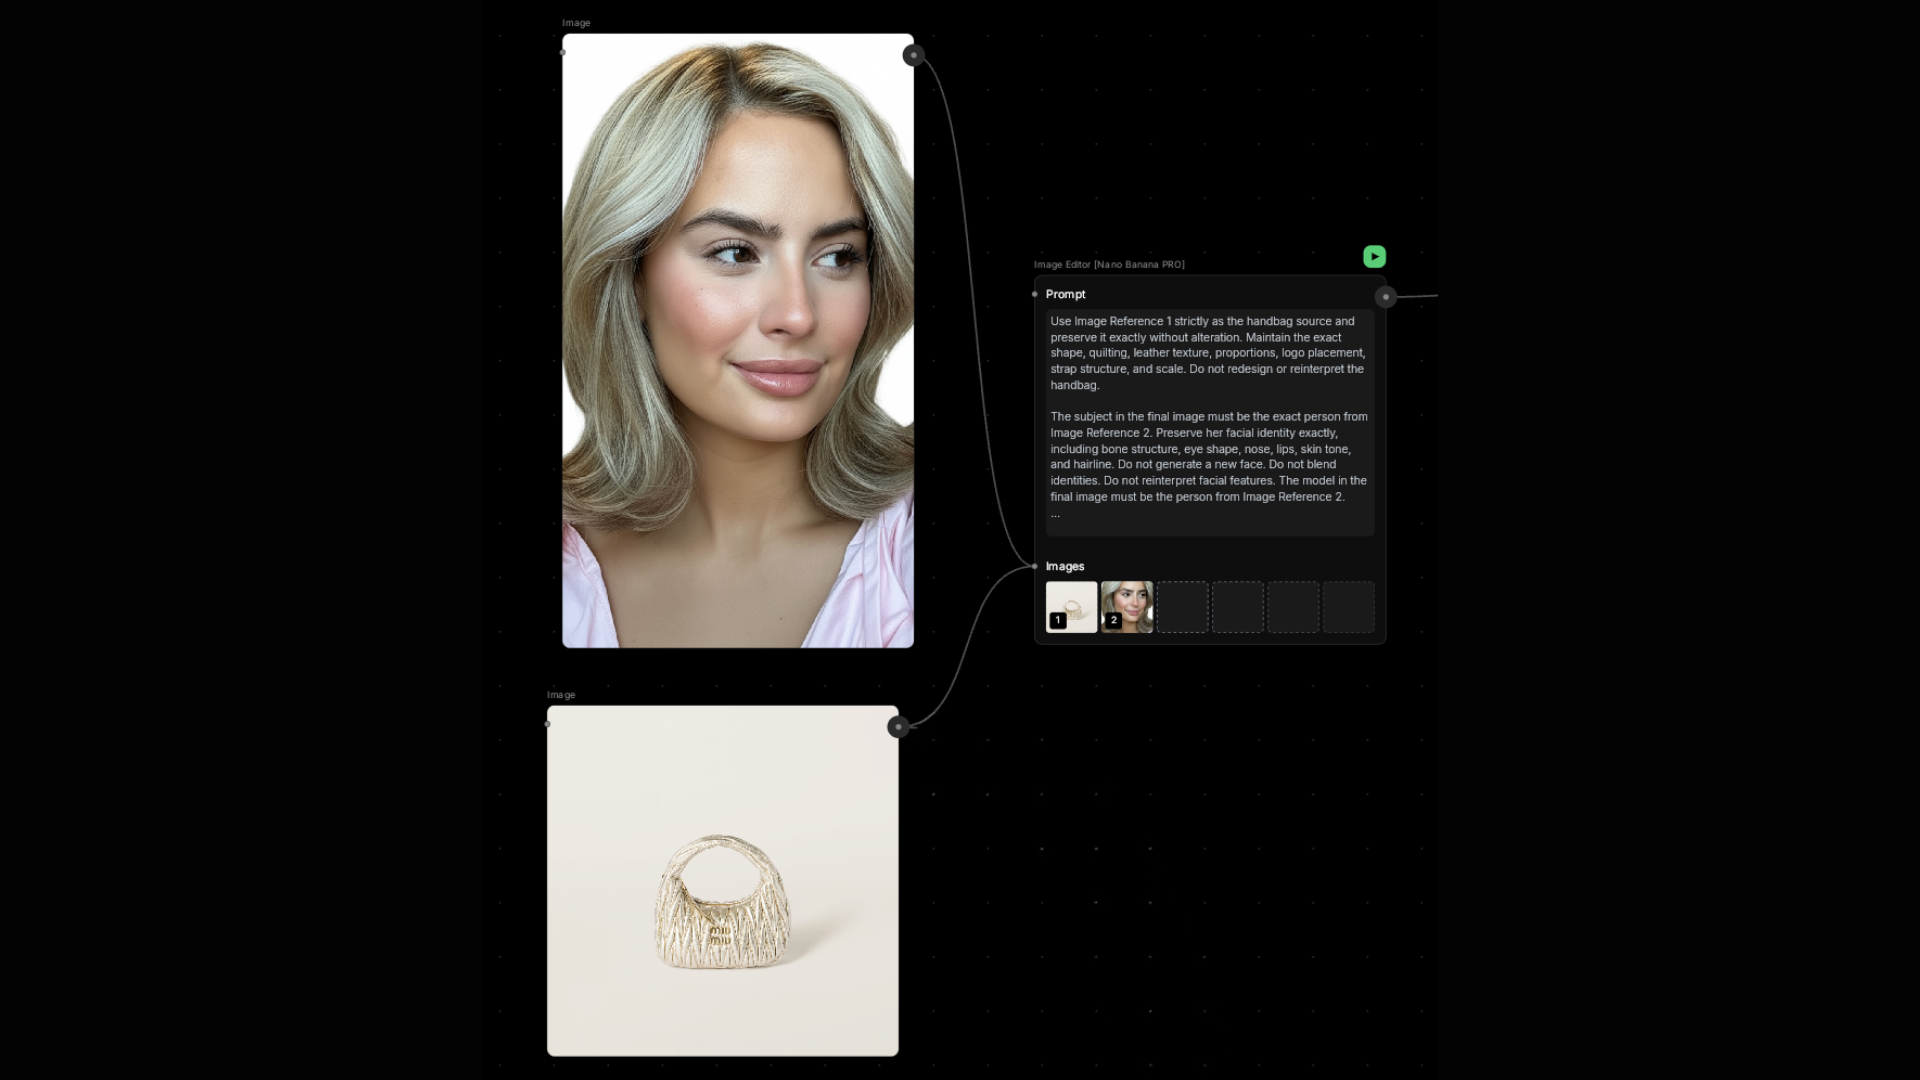
For the prompt, here’s what we used on the first frame:
Use Image Reference 1 as the base scene and Image Reference 2 as the character.
Integrate the character naturally into the outfit with a slim, toned fashion-model
silhouette and defined waistline. Give the subject a subtle half-smile expression
with a confident editorial presence. Maintain realistic anatomy, natural proportions,
correct garment fit, and authentic fabric drape. Preserve the pastel mint textured
studio background, soft diffused 1990s editorial lighting, subtle 35mm film grain,
and matte magazine aesthetic. Seamless, ultra-realistic composite.
Hit generate. You’ll get your first image.
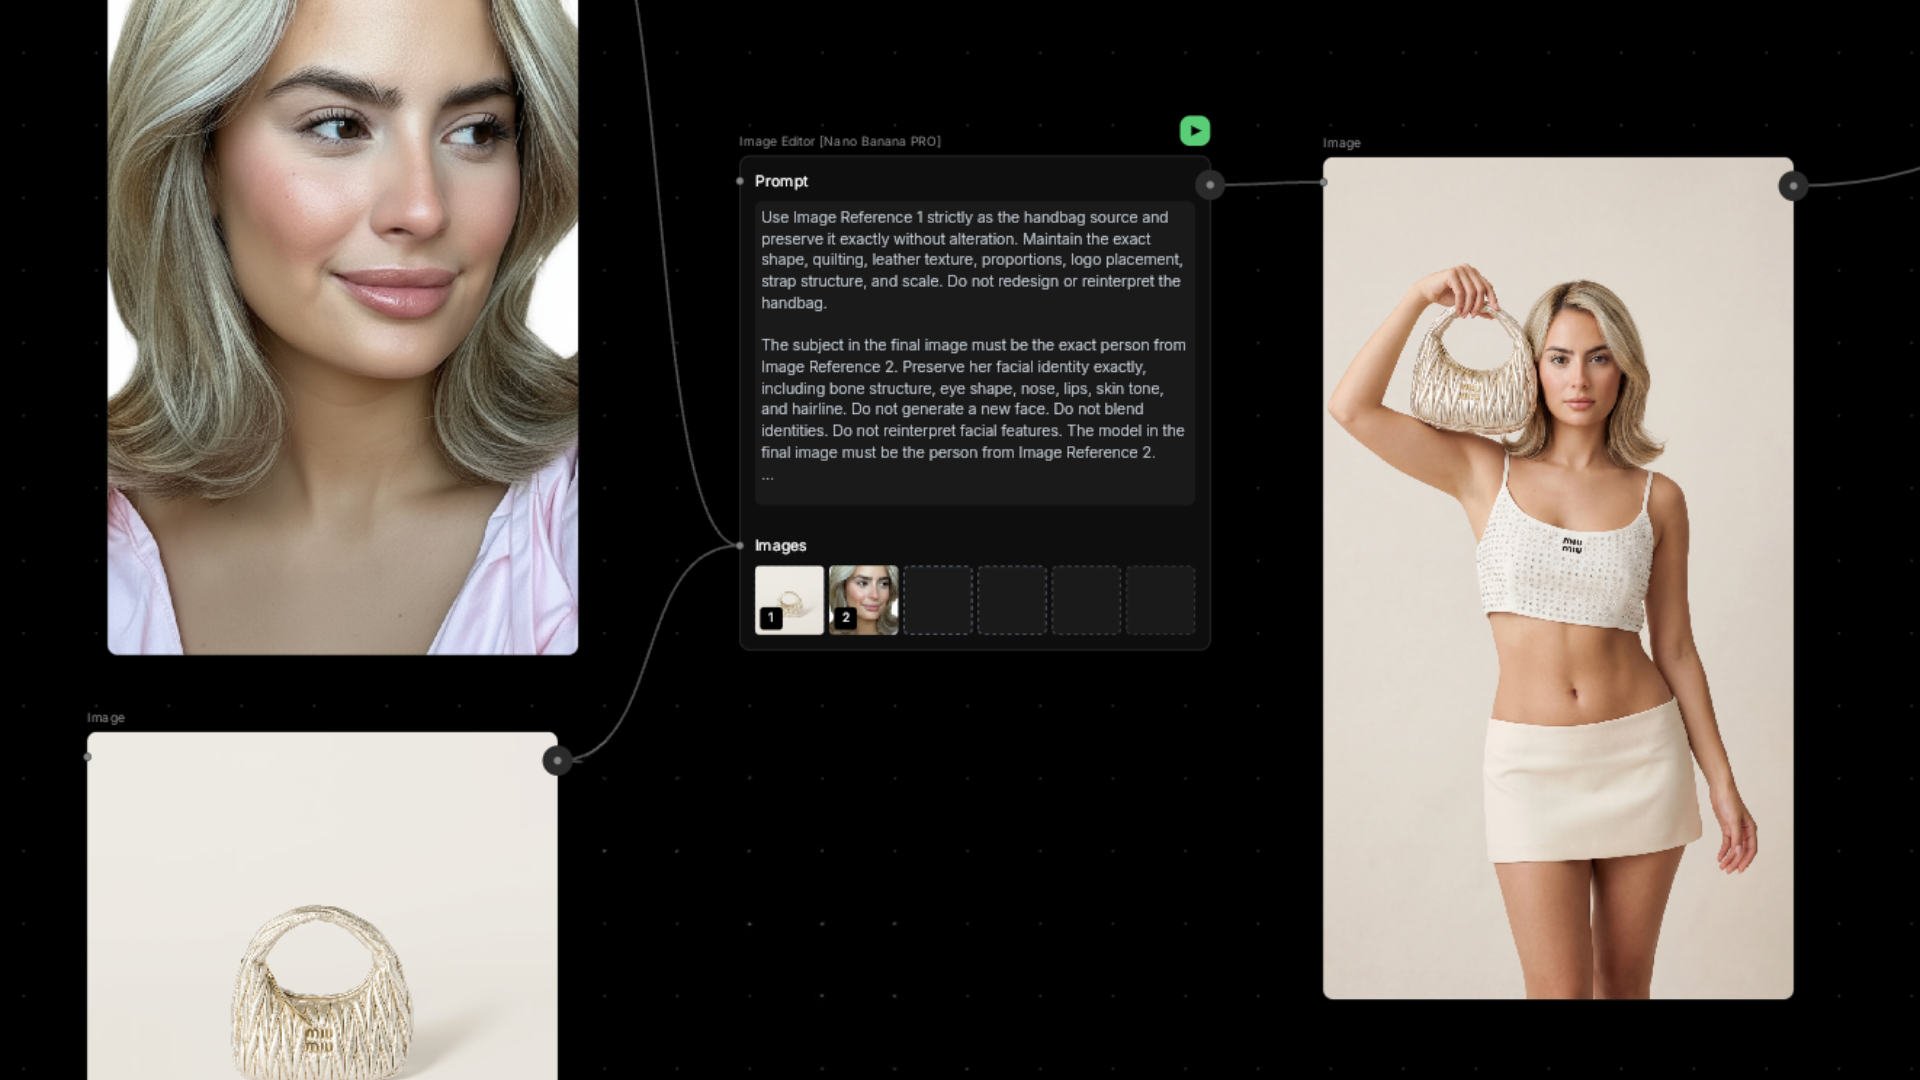
How reference images work
The prompts in this workflow rely on a numbering system for reference images. Before you write more prompts, it’s worth knowing how it works.
When a prompt says “Image Reference 1,” “Image Reference 2,” or “Image Reference 3,” each number controls something different:
- Reference Image 1 is your master reference. It defines the overall scene: composition, lighting, objects in the frame. Think of it as the “what does this photo look like” image.
- Reference Image 2 is the face. Facial structure, skin texture, hairline, likeness. This is “who is in the photo.”
- Reference Image 3 is the outfit or product detail. Clothing design, fabric texture, logo placement, accessories. This is “what are they wearing.”
The model doesn’t guess. It copies from whatever image you assign to each slot. If you want accurate clothing, put a clothing reference in the right slot. If you want an accurate face, put a clear face photo in the right slot.
The more specific your references, the more control you get. When we matched each reference to its correct role, the results were consistent across dozens of frames.
Step 2: Build out the campaign
Here’s where the canvas really pays off.
For each new frame in your campaign, drag a fresh Image Editor node and connect it to the base image you just created. Each node gets its own prompt describing a different pose, outfit, or composition.
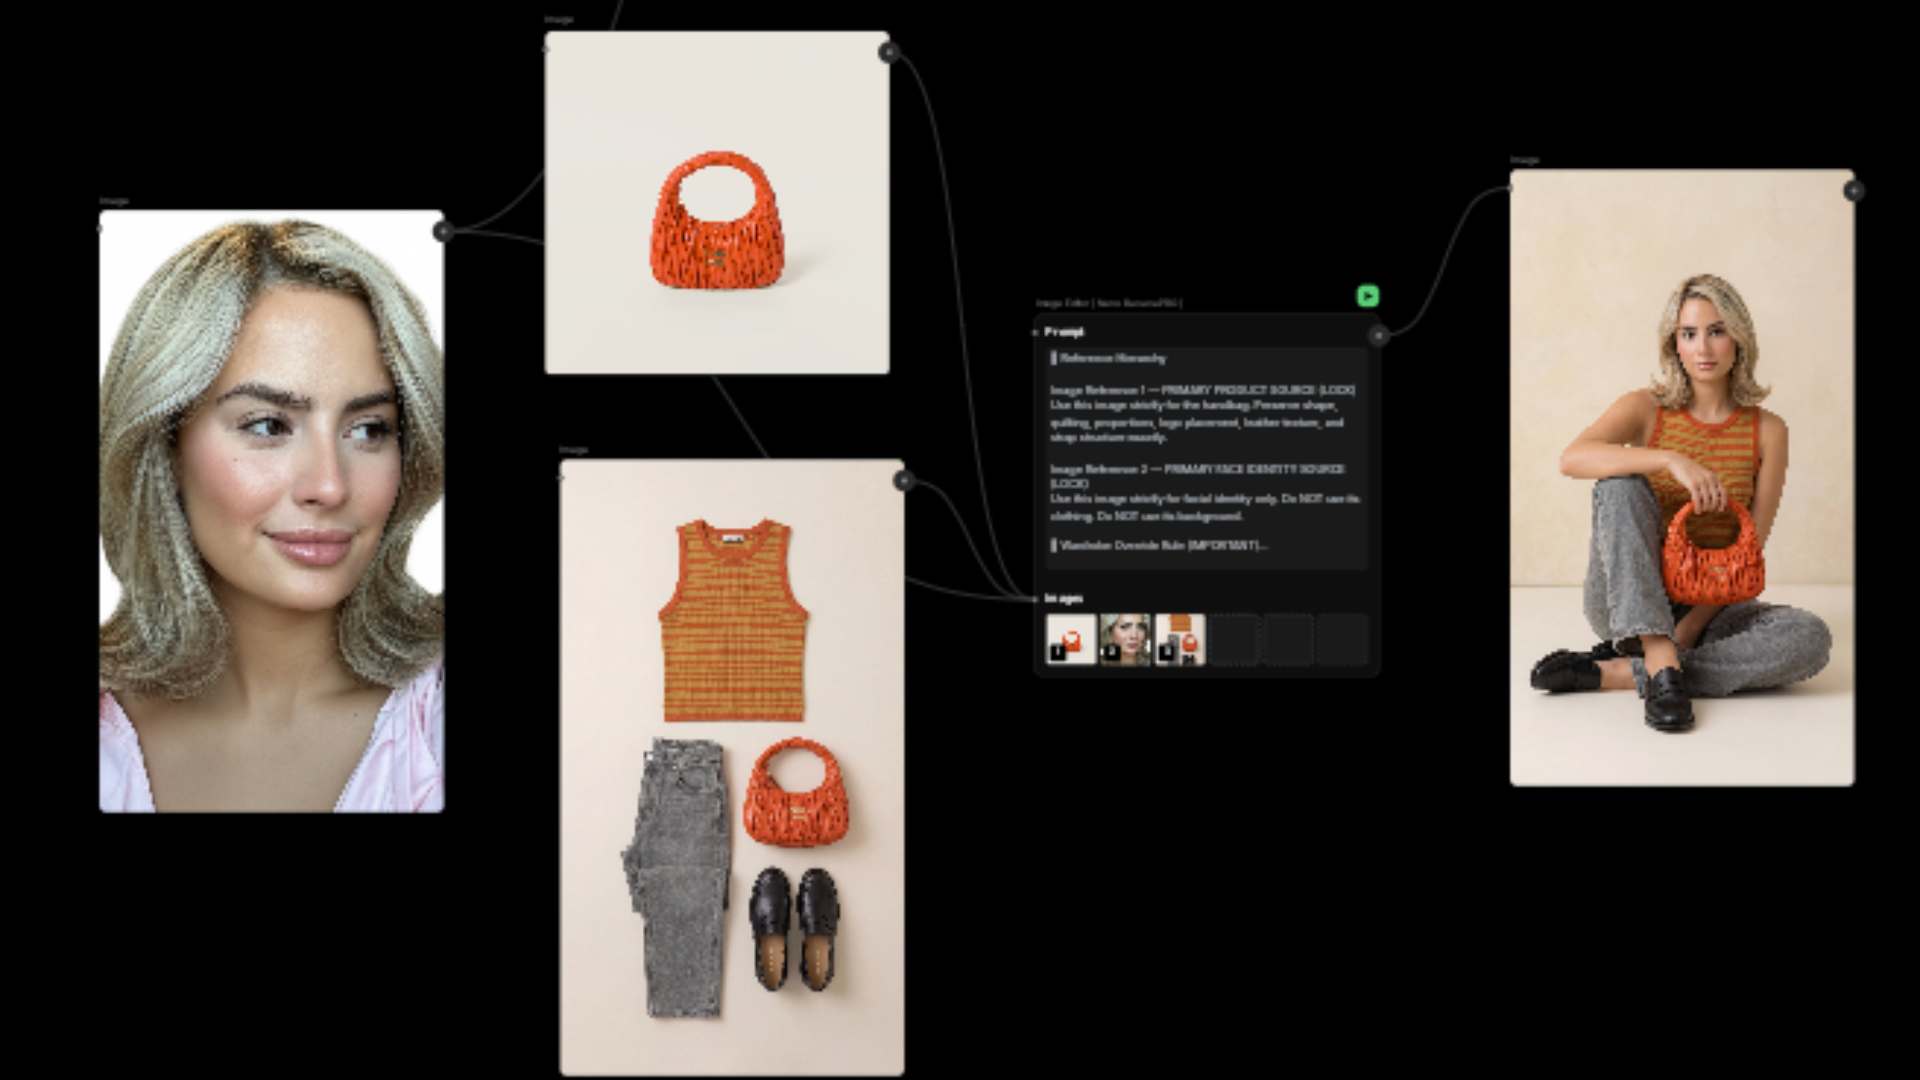
The prompts are detailed. They have to be. You’re directing a photo shoot, and the prompt is your only way to communicate with the “photographer.” Here’s an example for a seated editorial frame:
Image Reference 1 — preserve handbag shape, quilting, leather texture, logo placement,
proportions, and strap structure exactly. No redesign.
Image Reference 2 — preserve facial structure, bone structure, eye shape, nose, lips,
hairline, and skin tone exactly. Do not use clothing from this reference.

Create a seated luxury campaign image. Fitted striped knit tank in warm orange and
muted mustard tones. Relaxed straight-leg grey denim. Minimal black leather loafers.
Seated on floor, one knee bent upward, other leg relaxed outward, forearm resting over
knee, hand holding handbag naturally. Calm direct gaze.

Soft baby pastel studio, light beige warm cream textured backdrop, matte finish.
85mm portrait lens, f/5.6, eye-level slightly lowered to meet seated subject.
Soft diffused studio key light at 45 degrees, gentle fill on shadow side, low contrast.
Natural skin pores visible, subtle fine 35mm film grain, matte luxury editorial finish.
A few things to notice. The prompt explicitly locks the product and the face from the reference images, then describes everything else from scratch: outfit, pose, background, camera settings, lighting. It reads like a creative brief because that’s what it is.
Repeat this for each frame. Different outfits, different poses, same visual DNA. We kept the camera specs identical across all prompts (85mm, f/5.6, soft diffused 45-degree lighting, 35mm grain) so the series feels like it came from one shoot.
Step 3: Animate with photo-to-video
Once your still images are done, drag Photo-To-Video nodes onto the canvas and connect them to the images you want to animate.
Different frames call for different kinds of motion. For a behind-the-scenes shot, the prompt describes a working studio environment:
Behind-the-scenes fashion campaign studio. The photographer is actively taking photos.
On the tethered laptop monitor, the live capture updates with each photo. The model moves
gently and naturally between shots: slight shift of weight in hips, small shoulder
adjustment, soft repositioning of the raised arm, natural blinking, subtle breath movement
in chest. Very slight handheld documentary feel. Soft natural micro push-in. Authentic
working fashion set. Quiet. Professional. Ultra-realistic subtle movement.
For a talking head shot (the kind you’d use for a campaign teaser or social clip), the prompt gets very specific about facial stability:
Luxury fashion studio setting. Medium framing, waist-up. Camera static. The subject stands
facing the camera. Confident but relaxed posture. Facial identity must remain identical to
the reference image. No morphing. No reshaping. Movement must be minimal and realistic:
very subtle breathing, tiny natural head micro-adjustments under 3 degrees, natural blinking.
She says naturally, calmly: "That used to be the advantage... not anymore." Lip movement
must be realistic and subtle. No over-articulated mouth shapes. Ultra-real skin texture.
No smoothing. Motion intensity capped at 15%.
The motion intensity cap matters. Push it too high and faces start warping. Keep it subtle and the result holds up.
Step 4: Edit everything together
Download your generated clips from WunderNode and bring them into whatever editor you prefer. DaVinci Resolve, Premiere Pro, CapCut, anything works.
This is where you arrange the sequence, adjust timing, add transitions, and lay in music or voiceover if you want it. The AI part is done. The editing part is the same as any other project.
Try it yourself
The whole workflow above is available as a template you can open directly in WunderNode:
Open the fashion shoot workflow
If you don’t have an account yet, sign up for WunderNode. It takes about a minute.
Two reference images, a handful of prompts, and a canvas that connects them. That’s the whole shoot.